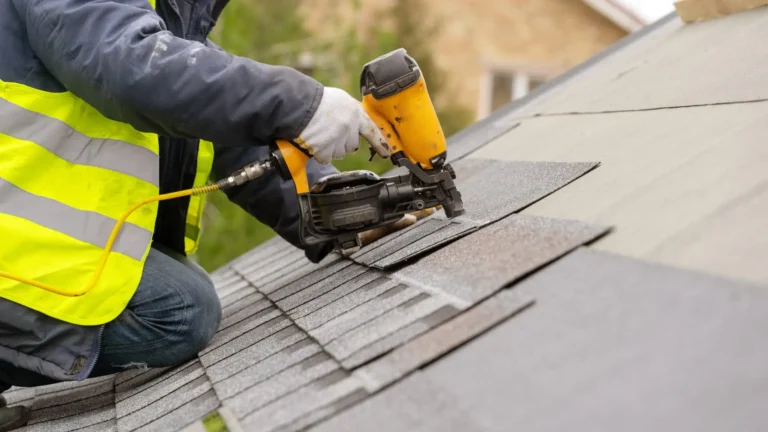
A roof replacement is a major home project, and for most homeowners, it can feel overwhelming. Learning the steps for replacing a roof can reduce stress, prevent surprises, and keep your home protected. Whether your roof is aging, damaged, or no longer keeping your property dry, learning how to replace it can make the job feel easier and more manageable.
This article describes the roof replacement process in simple, straightforward terms so you know what to expect at every step.
Initial Roof Inspection and Assessment
A professional inspection is the first step in any roof replacement. A roofing company can inspect your current roof, assess its condition, and identify issues.
In this examination, they examine:
- Missing or broken shingles
- Leaks or water damage
- Weak decking or structural problems
- Flashing and ventilation issues.
The inspection will entail recommendations and a clear estimate. This includes the required materials, schedule, and cost. This measure will ensure that no concealed problems arise in the future.
For more on what happens during a professional roof inspection, see this guide from the National Roofing Contractors Association (NRCA)
Choosing Roofing Materials
After the inspection, you move on to choosing roofing materials. You’ll decide based on your budget, your climate, and the type of home you have.
The usual roofing materials are:
- Asphalt (the least expensive and the most popular)
- Metal roof (durable and energy-efficient).
- Tile (durable and heavier) roofing.
- Commercial or modern flat-roofing materials.
Your contractor will discuss the advantages and disadvantages of each, so you have the information you need to make the right choice for your home.
Preparing Your Home Before Work Begins
Before the roof replacement, you’ll need to make a few preparations. Roofing can be noisy and may vibrate in the house.
To prepare:
- Pull automobiles off the driveway.
- Remove fragile objects from walls and shelves.
- Place attic cover products to keep dust off.
- Inform neighbors about upcoming work.
Roofers also provide safety nets, such as tarps and covers, to protect your property and landscaping.
Removing the Old Roof
Removing old roofing material is the first major construction step. The contractors remove old shingles or tiles to expose the roof deck.
The reason why this step is significant is that:
- It reveals hidden damage
- It ensures the new roof is installed correctly.
- Prevents future leaks
All waste is swept away and properly discarded. Professional crews work to minimize disruption during this stage.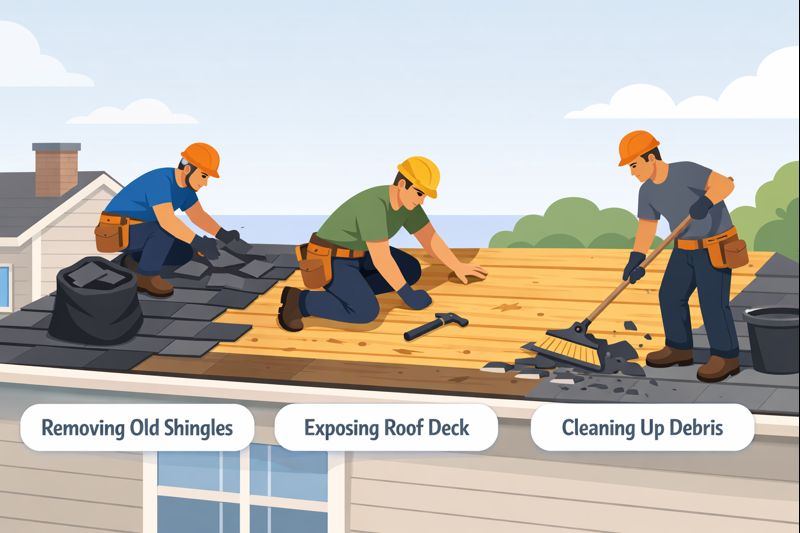
Inspecting and Repairing the Roof Deck
After removing the old roof, the crew inspects the roof deck. The roof is based on the deck, which must be solid.
If damage is found:
- Deteriorated or rotted wood is replaced.
- Nails are secured properly.
- The surface is prepared for installation.
By fixing these problems today, you can protect your new roof and avoid future structural issues.
Installing Underlayment and Flashing
Protective layers are then placed after the deck has been prepared. These layers block moisture and improve durability.
This stage includes:
- Waterproofing the floors with underlayment.
- Providing flashing around chimneys, vents, and edges.
- Having proper ventilation components.
These materials help prevent leaks and improve the roof’s performance.
Installing the New Roof
The next stage of the project is the most obvious: installing the new roofing material. Shingles, tiles, or panels are installed carefully and securely.
Roofers:
- Adhere to the manufacturer’s guidelines.
- Please make sure that it is aligned and sealed.
- Secure edges and ridges
This phase can take 1 to 3 days, depending on the roof size and material type.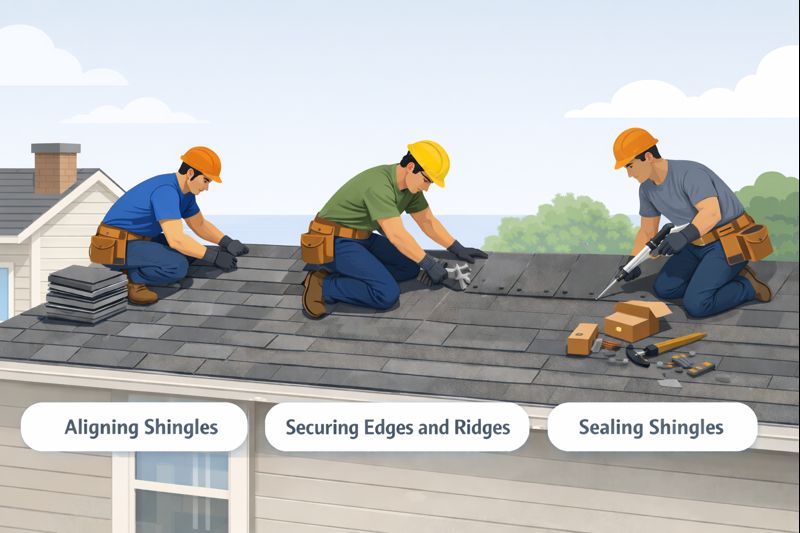
Final Inspection and Cleanup
After the installation is complete, the contractor conducts the final inspection. They ensure all installations are properly completed and safe.
Cleanup includes:
- Disposing of waste and materials.
- Using magnets to check the yard for nails.
- Clearing gutters and the surrounding area.
An expert roofing firm cleans up your property and leaves it safe.
Aftercare and Warranty Information
Your roof replacement payment includes maintenance tips and advice on warranty coverage from your contractor. This includes content, warranty information, and workmanship assurances.
Basic care tips:
- Your roof should be checked periodically.
- Keep gutters clean
- Address minor issues early
Knowing your warranty will help ensure long-term peace of mind.
For trusted roof maintenance tips to help protect your investment and extend its lifespan.
Final Thoughts
Replacing a roof can sound like a huge undertaking, but it becomes much more manageable when you know what to expect. From inspection to final cleanup, every step aims to protect your home and enhance its value. With the right contractor and clear communication, getting your roof replaced can be stress-free and even painless, providing greater protection for years to come.